Effective sterilization in the hospital industry using an autoclave involves a series of meticulous steps to ensure the safety and sterility of medical instruments and supplies. Here is a detailed guide:
1. Preparation
- Selection: Gather reusable items that are clean, washed, and scrubbed. Ensure they are compatible with autoclaving (e.g., glassware, metal instruments, certain plastics, and heat-resistant fabrics).
- Inspection: Verify that all items are free from debris and contaminants before proceeding.
2. Loading
- Arrangement: Place items in the autoclave chamber, ensuring there is adequate space for steam circulation. Avoid overcrowding to ensure effective sterilization.
- Containers: Use vented lids or open-top containers to allow steam penetration.
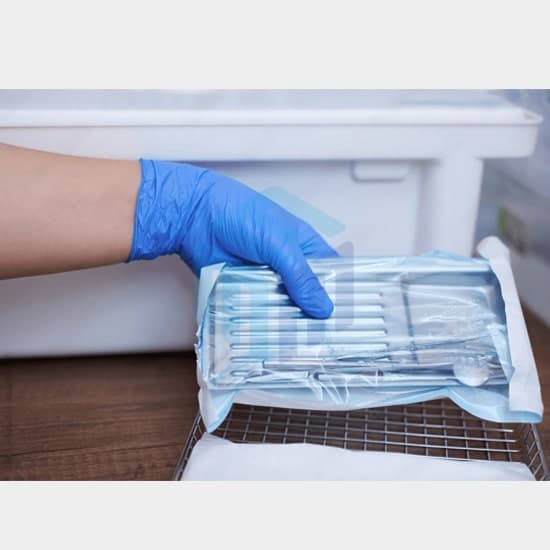
- Sterilization Pouches: Utilize M-Kube sterilization pouches and reels for added assurance of sterilization and easy identification of instruments. Ensure color indicators are in place if necessary.
3. Water
- Filling: Add M-Kube distilled water to the autoclave as per the manufacturer’s instructions. Ensure the water level is sufficient to generate steam during the cycle.
4. Air Removal
- Vacuum Phase: Autoclaves often have a pre-vacuum or post-vacuum phase to remove air from the chamber, facilitating thorough steam penetration.
- Instructions: Follow the autoclave manufacturer’s instructions for the specific vacuum cycle.
5. Temperature and Pressure Settings
- Adjustment: Set the autoclave to the appropriate temperature and pressure based on the items being sterilized. Typical settings are:
- Temperature: 121°C (250°F) to 134°C (273°F)
- Pressure: 15 to 30 psi
- Reference: Consult the autoclave’s manual or guidelines for precise settings.
6. Sterilization Cycle
- Initiation: Start the sterilization cycle after adjusting the temperature and pressure settings. The autoclave will regulate the cycle, including heating, maintaining the required temperature and pressure, and gradual depressurization.
7. Cool Down
- Phase: Once the sterilization cycle is complete, the autoclave will enter a cool-down phase to reduce the chamber temperature.
- Handling: This step ensures safe handling of sterilized items and prevents thermal shock.
8. Unloading
- Safety: After cooling, carefully open the autoclave door using appropriate PPE to avoid burns.
- Removal: Take out the sterilized items and allow them to cool further before handling.
9. Documentation
- Recording: Log essential details such as date, time, sterilizer number, operator’s name, and a description of the sterilized items. This is vital for quality control and tracking.
- System: Use the hospital’s documentation system for accurate record-keeping.
10. Quality Assurance
- Monitoring: Regularly validate the autoclave’s performance using biological indicators (e.g., spore tests) to ensure reliable sterilization.
- Protocols: Follow hospital protocols for quality assurance and routine maintenance of autoclaves.
Additional Considerations
- Manufacturer’s Guidelines: Always adhere to the specific guidelines provided by the autoclave manufacturer.
- Hospital SOPs: Follow the hospital’s standard operating procedures (SOPs) for sterilization to ensure compliance with safety and quality standards.
By following these steps, hospitals can ensure the effective sterilization of medical instruments and supplies, thereby maintaining high standards of patient care and safety. M-Kube is dedicated to providing the necessary products and solutions to support this critical process.


